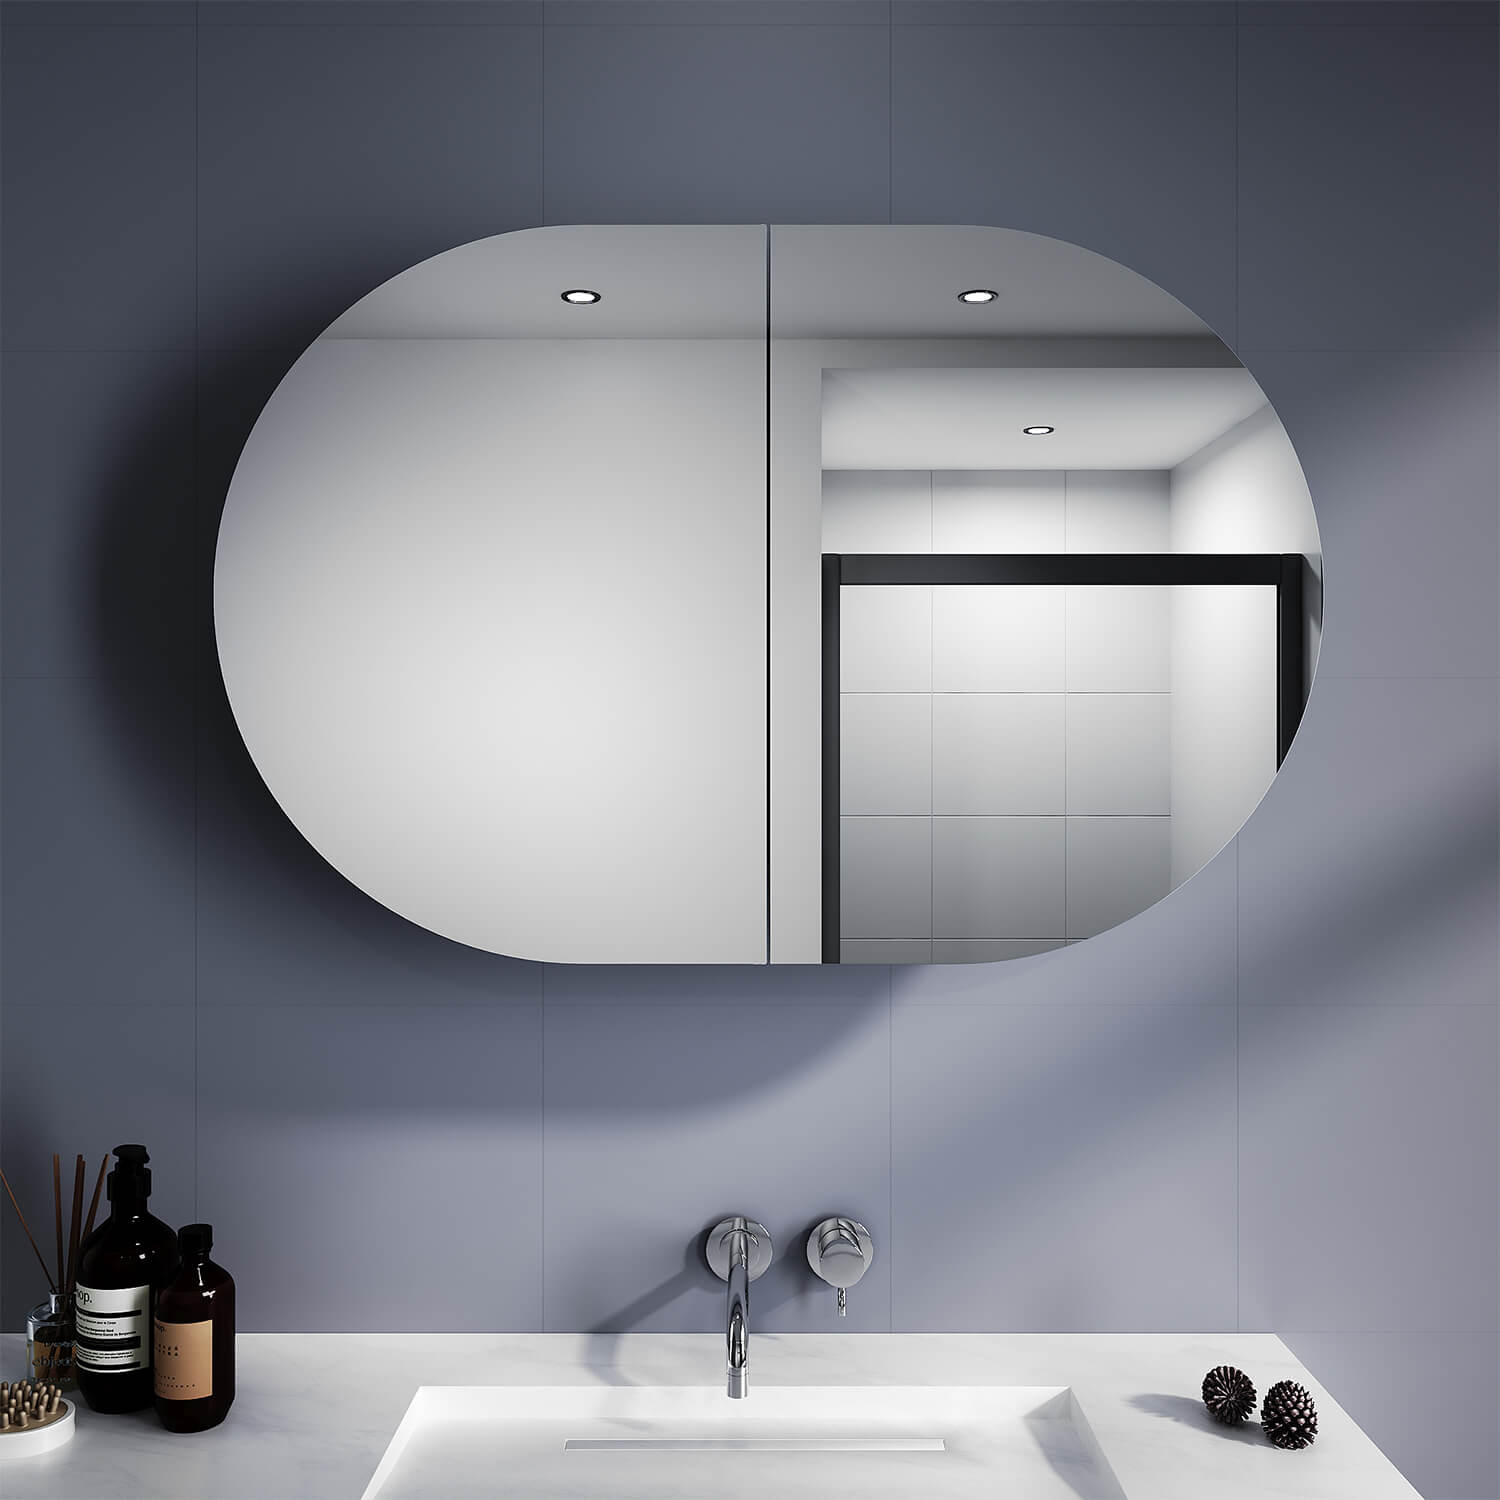
Installing a new bathroom mirror can completely transform the look and feel of your bathroom. With the right mirror, proper lighting, and a quality installation, you can create a spa-like oasis to start and end your day. While hiring a professional is always an option, installing a bathroom mirror is a reasonably straightforward DIY project for most handy Aussie DIYers.
Importance of Proper Mirror Installation
Proper mirror installation is important for both aesthetics and safety. You want the mirror to be securely fastened to prevent any chance of it falling and injuring someone. The way the mirror is positioned and angled also impacts how the room looks and functions. Taking the time to get the location, height, and angle right will ensure you get the most out of your new mirror.
Benefits of DIY Bathroom Mirror Installation
One of the best parts about DIY bathroom mirror installation is the ability to customize the project to suit your unique space. You get to pick the exact mirror style, shape, and size. Doing it yourself also saves on installation costs compared to hiring a handyman. And you get to develop new skills in the process. With the right tools and safety precautions, it is a fun weekend project for an intermediate level DIYer.
Adhering to the Australian Standards
When installing any bathroom fixture in Australia, it is important to review standards for waterproofing and electrical safety. Ensuring your mirror installation meets the standards will give you peace of mind that your family and home are safe. The mirror also needs to be placed appropriately based on sink and switch locations as per Australian building codes.

Tools and Materials of Bathroom Mirror Installation Required
Installing a bathroom mirror is a relatively easy DIY project as long as you have the right tools and materials. Key tools you will need include:
Essential Tools
· Cordless Drill & Bits – A 12V cordless drill is recommended for precision and ease of use in tight spaces. The B+D 12V Li-ion drill is a good choice. You will need tile/masonry drill bits for drilling into bathroom walls. Carbide or diamond-tipped bits work best for drilling through ceramic tiles and preventing cracks. Wear safety goggles when drilling.
· Stud Finder – A must-have for finding wall studs to secure mirror brackets too. Look for one with deep wall scan capability to detect pipes and wires. The Bosch D-Tect 150 is a top-rated stud finder for Australian DIYers.
· Spirit Level – Essential for marking drill holes and getting mirror alignment spot on. Go for at least 40cm in length.
· Measuring Tape – A basic 3m tape measure will also be needed for taking room measurements.
· Safety Gear – Use work gloves to protect your hands when drilling. A dust mask and goggles will also keep you safe from debris.
Materials
· Mirror Brackets – Choose corrosion resistant metal brackets with adjustable height and depth for easy levelling. Brands like Hills and Kinetic offer brackets suited for tile and glass mirrors.
· Wall Anchors – Select wall anchors rated for the weight of your mirror and suitable for your wall type (e.g. plasterboard, concrete, etc.). Expansion bolts or toggle bolt anchors are sturdy options.
· Screws – Opt for stainless steel or coated screws to prevent rusting from moisture and condensation.
· Silicone Sealant – Use a flexible, bathroom-grade sealant like Selleys Glass Silicone to fill gaps behind mirror.
· Tile Repair Kit – Useful for neatly patching over wall holes if relocating the mirror.
· Laser Level (Optional) – Upgrades like a PAL laser level kit make marking hands-free and ensures perfect accuracy.
· Adhesive Strips (Optional) – For sticking lightweight mirrors directly to tiles or glass without brackets.

Safety Tips for Bathroom Mirror DIYers
While installing a bathroom mirror is a relatively straightforward DIY job, safety should always be the number one priority. Follow these tips to ensure you complete your mirror installation safely:
Electrical Safety
Take care to avoid drilling or nailing into any hidden electrical wiring inside your walls. Use a wire and cable detector beforehand to scan for pipes and cables. Turn off the power at the circuit breaker if unsure. Ensure any new bathroom lighting you install complies with Australian Standard AS/NZS 3000 for domestic electrical installations.
Handling Glass
Glass mirrors have sharp edges that can cause nasty cuts. Always wear cut-resistant gloves when carrying and handling the mirror. Keep the mirror protected during installation by placing a towel or soft blanket under the edges. Avoid allowing the corners or edges to overhang the supports. Tape any exposed corners with strong masking tape.
Moisture Management
Bathroom mirrors will inevitably get splashed on occasionally. Use a flexible bathroom-grade silicone sealant behind and around the edges of the mirror to prevent water seeping in. Opt for stainless steel mirror brackets and hardware, as these are corrosion resistant. Check existing bathroom electrical outlets are properly sealed and waterproof.
Ladder Safety
Use a sturdy, non-conductive ladder when drilling or inspecting higher areas. Ensure the ladder feet have rubber stoppers and are placed on a stable, level surface. Keep the base 1 meter from the wall for every 4 meters of height. Have an assistant brace the ladder rather than overreaching. Descend fully before shifting ladder position.
The key is taking things slow and steady. Follow manufacturer instructions and standard precautions. Stop the project if you have any safety concerns or are unsure how to proceed. Some minor home repairs may be DIY, but electricity and height issues require a certified professional.

Step-by-Step of DIY Bathroom Mirror Installation Guide
Follow these key steps to safely and successfully install your bathroom mirror:
Pre-Installation Preparation
Measure the mirror to be installed along with the intended wall area. Account for edges and frame when measuring.
Check what material your wall is made of – brick, concrete, tile over plasterboard etc. Stud finders don’t work well on hard surfaces. Knock gently instead and listen for hollow sounds.
Use a stud finder to locate studs or furring strips inside plaster walls for securing the top mirror brackets. Mark the stud centers with masking tape.
Marking and Drilling
Determine desired mirror height and use a spirit level to mark out a horizontal level line. Then mark the bracket drill hole positions.
Drill pilot holes for the wall anchors using carbide or diamond-tipped drill bits on tile surfaces to prevent cracking. Drill through grout lines where possible.
Mounting the Mirror
Secure the mirror mounting brackets firmly onto the wall anchors as per the manufacturer’s instructions. Apply silicone sealant on the back of each bracket for added holding power and stability.
With a helper, carefully lift up the mirror aligned to the mounting bracket holes. Insert mounting screws through mirror holes into the inserted wall anchors.
Securing and Finishing
Gradually tighten all mounting screws evenly. Use a spirit level on top of the mirror to check alignment is perfectly level.
Inspect sides and top of mirror for any gaps between mirror and wall. Fill these completely with bathroom silicone. Wipe away any excess sealant with a damp cloth.
Electrical Considerations (if applicable)
If installing a backlit or demister mirror, hire a licensed electrician to connect wiring in compliance with local regulations. Improper electrical work risks electrocution.
Take your time following each step and double check alignment before permanently fixing screws. Soon you’ll be enjoying a stunning, professionally installed mirror that transforms your entire bathroom!

Compliance with Australian Standards
There are a few key Australian standards and compliance considerations when installing bathroom mirrors:
Building Code Requirements
The National Construction Code (NCC) 2022 stipulates minimum requirements for waterproofing bathrooms against moisture damage and structural issues. A professional waterproof membrane may be needed before fully tiling the walls your mirror mounts onto. The sealant and installation method used should also prevent water ingress behind the mirror.
Electrical Compliance
Any electrical outlet near a bathroom mirror requires appropriate IP (ingress protection) rating and RCD (residual current device) protection against electric shock. Light fixtures and demister wiring must comply with AS/NZS 3000 for domestic electrical installations in wet areas. Hire an experienced, licensed electrician for complete peace of mind.
BASIX Certification
If undertaking bathroom renovations valued over $50,000 in NSW, you need BASIX (Building Sustainability Index) certification demonstrating energy and water efficiency targets will be met. Consider features like LED lighting, water-conserving taps and backlit mirrors running on solar power.
Anti-Mold Measures
Mold risk can be minimized with proper ventilation and the right adhesives. Use bathroom-grade silicone sealants containing anti-fungal additives. Prevent condensation moisture build up by running exhaust fans during and after showering. Installing a back-ventilated mirror also allows airflow behind.
Conclusion
Installing a bathroom mirror truly takes a functional space to the next level visually. With some basic DIY skills and the right tools, it is an achievable weekend project that can completely transform your bathroom. Just be sure to follow safe work practices and measure twice before making any permanent mounting holes.
By taking a methodical approach to your installation, checking compliance considerations, and using quality moisture-proof building materials, your new mirror will last for many years without issues. Your family and future home buyers will be able to enjoy a stylishly upgraded space that adds value and remains compliant with Australian standards.
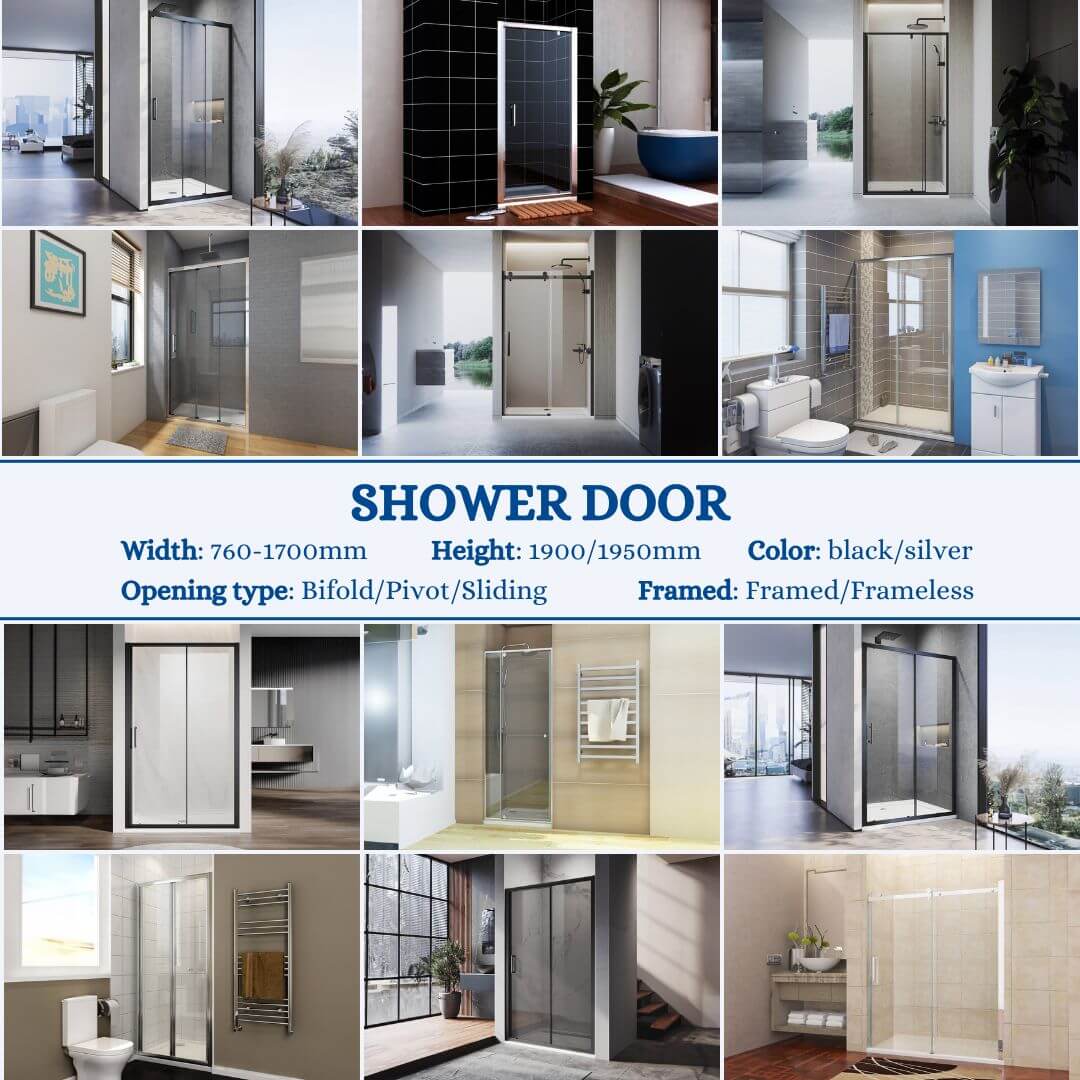
If the scope of your bathroom renovation project feels overwhelming or you want expert guidance ensuring compliance, consider visiting Elegant Showers Australia online shop. Their professional design consultants offer custom shower screen and mirror cabinet solutions to suit your needs and budget. Book a free in-home consultation today to get your bathroom reno started with confidence.


